
Steve was our house guest for part of his Spring Break. One day he made a little polymer pot similar to an air dried clay pot he saw on my studio shelf.

He chose three colors of clay...Pink, Ecru, and Green. He used 1/2 package of pink, 3/4 package of Ecru and 3/4 package of Green.
After he used the polymer clay razor-like blade, I realized he could use an old paring knife instead.
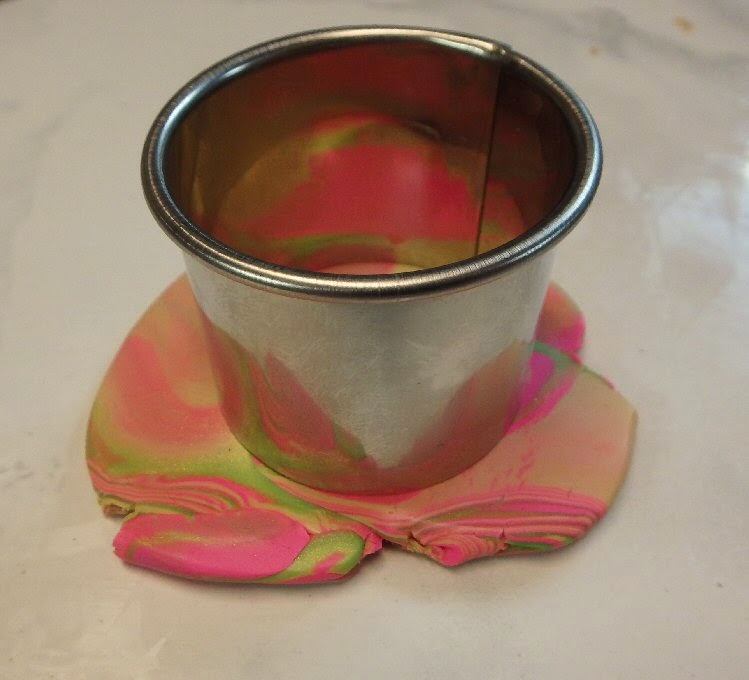
I have a set of nesting circular clay cutters. The smallest cutter that he used was about 1 1/2 inches in diameter.
Cookie cutters would work also. Something to keep in mind is that polymer clay tools should be used only for the clay, not for food.

The most boring and time consuming part of working with polymer clay is conditioning it...warming it with your hands as you work, making it softer and more pliable. He softened each piece by squeezing and rolling it with his hands. Then he rolled the clay with my clay roller. Any plastic roller will do. Wood is not slick enough for the job.

Steve rolled, then watched a bit of TV, then rolled more while I kept track of his progress on the conditioning.
When the clay was rolled thin enough to roll through the pasta machine, he switched to using it. He enjoyed using this tool.

He passed the clay through the pasta machine until the clay was still softer.
Then he formed each flat section into a "snake".

After he had his three "snakes" made he twisted them together.


When the multicolored "snake" grew long, he broke it into two pieces and twisted them together.

The more the "snake" is twisted the more the colors will mingle. Eventually he had the "snake" twisted to his satisfaction.

He shaped it into a thicker shape by folding it in half and squeezing and rolling.

I still hadn't figured out that he could use a paring knife for cutting at this point so he used my clay blade being VERY careful.

He rolled the portion he cut off into a ball and then flattened it with the roller.

He used the middle-sized cutter to cut the base of the pot.
He cut off the portion for the sides of the pot, leaving enough to make the three piece lid.

Next came rolling the side portion lengthwise to stretch it long enough to fit around the base.

He checked to see if the piece would wrap entirely around the base.

He rolled the piece a little longer.

Then he laid a ruler on the clay and cut down both sides of the ruler using an old paring knife. I helped him hold the ruler. You can see the base for the pot at the bottom of the photo.

He wrapped the rectangular piece around the base and pushed it gently against it so it would adhere.

The lid was next. He made the circle exactly as he had made the base circle but he used the largest cutter.

He made the underside insert for the base using the smallest cutter. The underside insert is centered on the lid and keeps the lid from falling off the pot. This photo does not show this very well.

Perhaps you can see it better on the lid of the air-dried pot.

On the top side of the lid he pushed down a ball of clay for the handle.

I baked the two pieces side by side in a 275 degree oven for 25 minutes.

And here is his pot.

He told me it would be a good container for earrings. He decided it would be a good container to hold coins, also.

What a fun project! :)
ReplyDelete